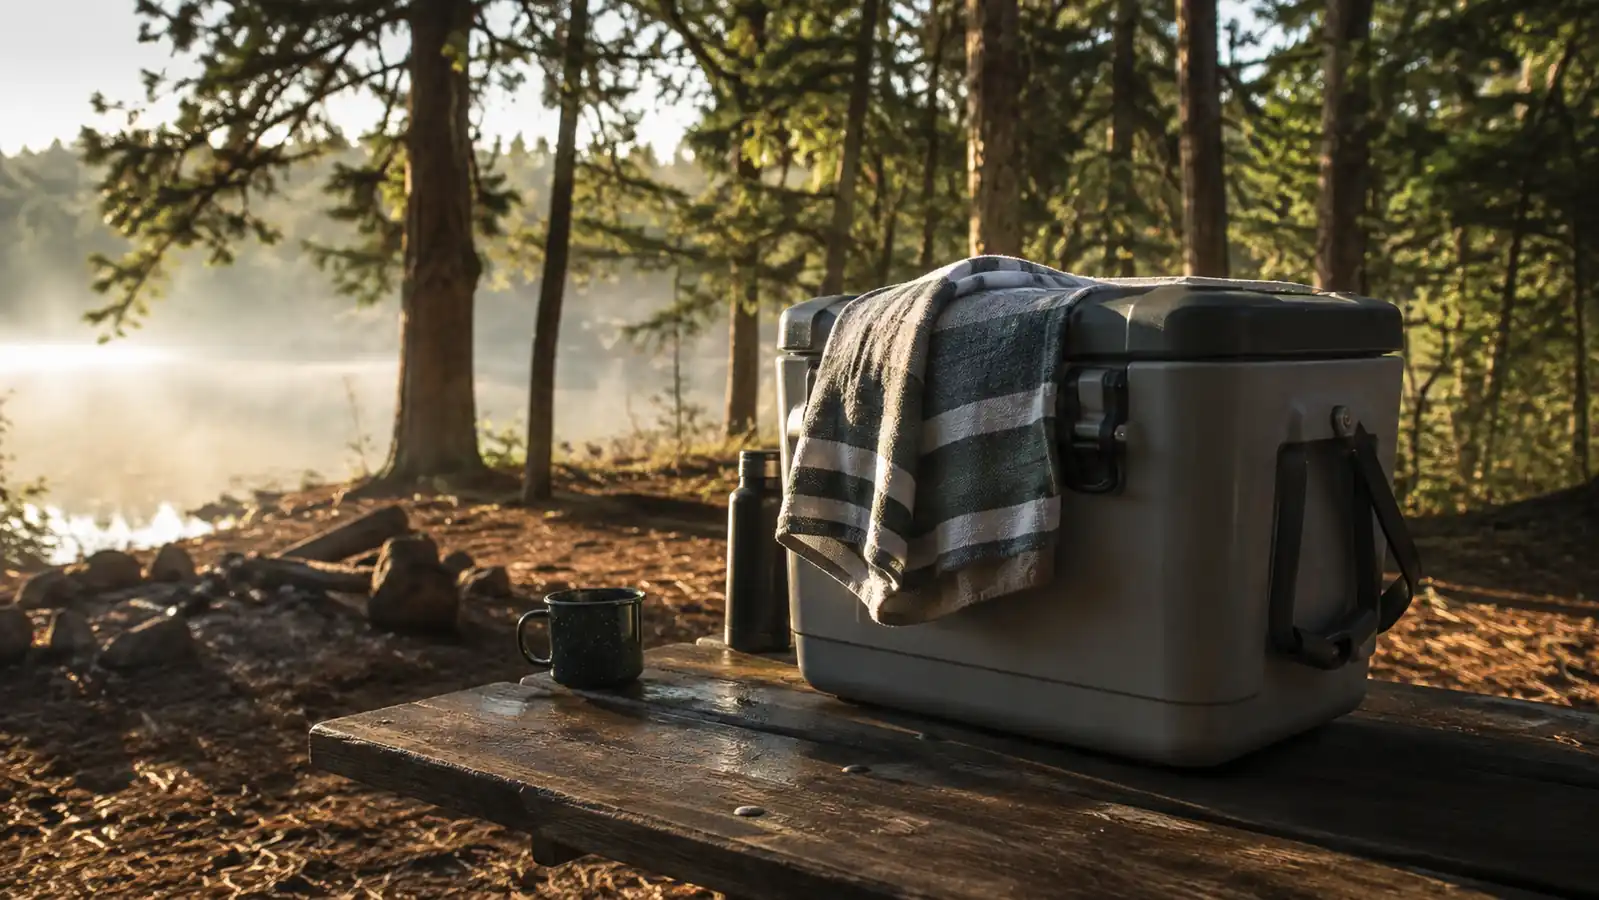
Saturday at noon I opened the cooler and found a sheet of water with one small cube of ice floating in it. Two more days of camping were still ahead, and the chicken I had planned for dinner went straight into the trash. I spent fourteen dollars at the camp store on a bag of ice that was soup by midafternoon, and I remember blaming the weather. It was not the weather. It was the way I packed the box.
A few ruined weekends later I found the routine, and it is not magic. It is a five-step order that works in any cooler whose lid seals. Pre-chill the box and the food, freeze your own block ice, sort the heavy stuff near the bottom, keep the cooler in shade with the lid down, and fill the empty space with cold. Nothing on the list is expensive, and the whole thing takes about twenty minutes the night before you leave.
The cooler I run these steps in most weekends is the 30-can Deep Freeze from Titan by Arctic Zone, a box that has lived in the bed of my truck since I retired the one before it. I will tell you why the Titan earns its place in step three. But the method matters more than the gear. The same list works in whatever chest you already own, so here is the order straight from the night before the trip to the last hour of Sunday.
The cooler I load for every trip and tailgate
The 30-can Deep Freeze from Titan by Arctic Zone is the box I have run this exact routine in for two seasons. The zipperless lid is the detail that hooked me, because a cooler loses the most cold through a flap or hinge, and this one seals with a solid panel. It has handled gravel roads, rain, and truck beds without a complaint, and it is the box I grab first.
Amazon Check Today's Price on Amazon →The Packing Order, Starting the Night Before
The steps stack on each other, so do them in order. If the box starts warm, no shade or lid routine can save it. If you begin with cubes instead of blocks, the ice is shaped to lose before the car leaves. Run together, the list takes about twenty minutes the evening before you go, and those twenty minutes are the difference between a cold Sunday and a warm one.
Step 1: Pre-chill the cooler and everything going into it
The cheapest cold on the whole trip is the cold you bring from home. A cooler that sat in the garage all summer at eighty degrees is a warm shell, and the first bag of ice you put in it goes straight into the plastic before a single can is cold. I burned half my first bag that way, warming the box instead of the trip, and only caught it when I weighed what was still there at the site.
Twenty minutes the night before. Put two bags of plain ice into the empty cooler and shut the lid. In the morning, pour out the melt, wipe the inside down, and the same box that sat at eighty degrees now sits close to thirty before anything goes in. One bag of ice buys you a cold cooler for the whole weekend, and that is the highest return in this entire walkthrough.
And the contents should start cold too. Drinks from the fridge, meat from the fridge, deli and cheese straight out of the crisper. A case of soda that sat in the back porch since June pulls hours off your block, and warm things never give those hours back. When everything that goes in is already cold, the ice only has to keep it that way, and that is a job a full block can do until Sunday.
Step 2: Freeze your own blocks and skip the cubes
The shape of the ice matters more than the amount. Each cube in a store bag carries a large surface for its small size, and the surface is where the heat gets in, so a bag of cubes disappears fast. A solid block holds the same water with a fraction of the exposed surface, so it gives up its cold over hours instead of minutes. Freeze your own blocks and the cold always lasts longer.
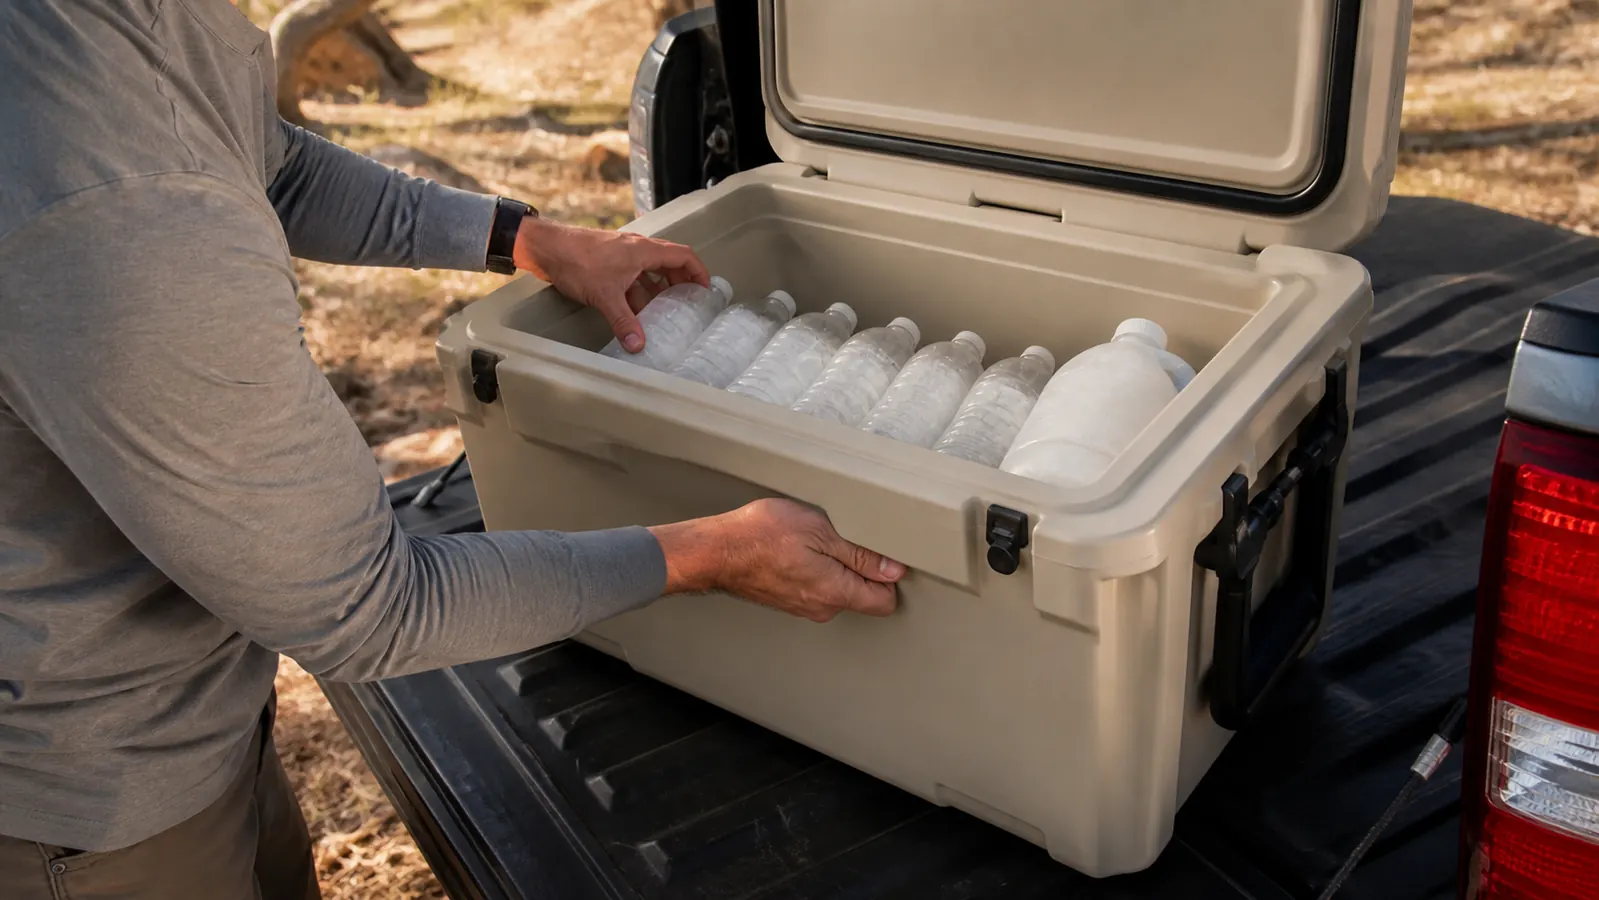
The blocks are free and already in your kitchen. Fill two-liter bottles and clean half-gallon juice jugs to about nine tenths so they leave a little room, lay them flat in the freezer with the caps loose, and give them a full day. What comes out is a solid slab you can hold in one hand. I keep six of them frozen from June through September, and I have not bought bagged ice for a trip since.
Load the blocks like a wall. Two flat across the bottom of the chest, then two or three more standing upright along the sides, so the food sits inside a ring of cold. When that ring finally gives, it is not a failure: the melted water is still cold and clean. The same block that fed Saturday becomes the drinking water you pour for the ride home on Sunday. One block, two jobs.
Step 3: Sort the box, heavy anchors at the bottom, daily stuff on top
Cold air settles toward the floor like it does in a basement, so the bottom of the cooler is the coldest shelf you own. That is where the food that must last the longest belongs: the steak for the last night, the chicken, the cheese, the pack of bacon. Up near the lid, where warm air collects, goes what you reach for all day: sodas, apples, yogurt cups, the sliced melon you cut that morning.
You sort this way to avoid the digging. If the steak is buried under the noon things, every quick lunch turns into a forearm search, and every search pulls cold out the top. When the daily items are on top, the lid opens, two fingers grab what they need, and it closes again in one beat. The box that is not dug through is the box that still has ice on Sunday night.
This is where the Titan earns its keep. That chest has a solid, zipperless lid that lifts full width and locks back the same, with no hinge pocket and no sewn seam for the cold to leak from. I can have the lid off, grab the barbecue sauce, and put it back in a couple of seconds, and it seats into the lock every time. On a hot day, that speed is the difference between a cold box and a warm one.
Step 4: Put the box in the shade and discipline the lid
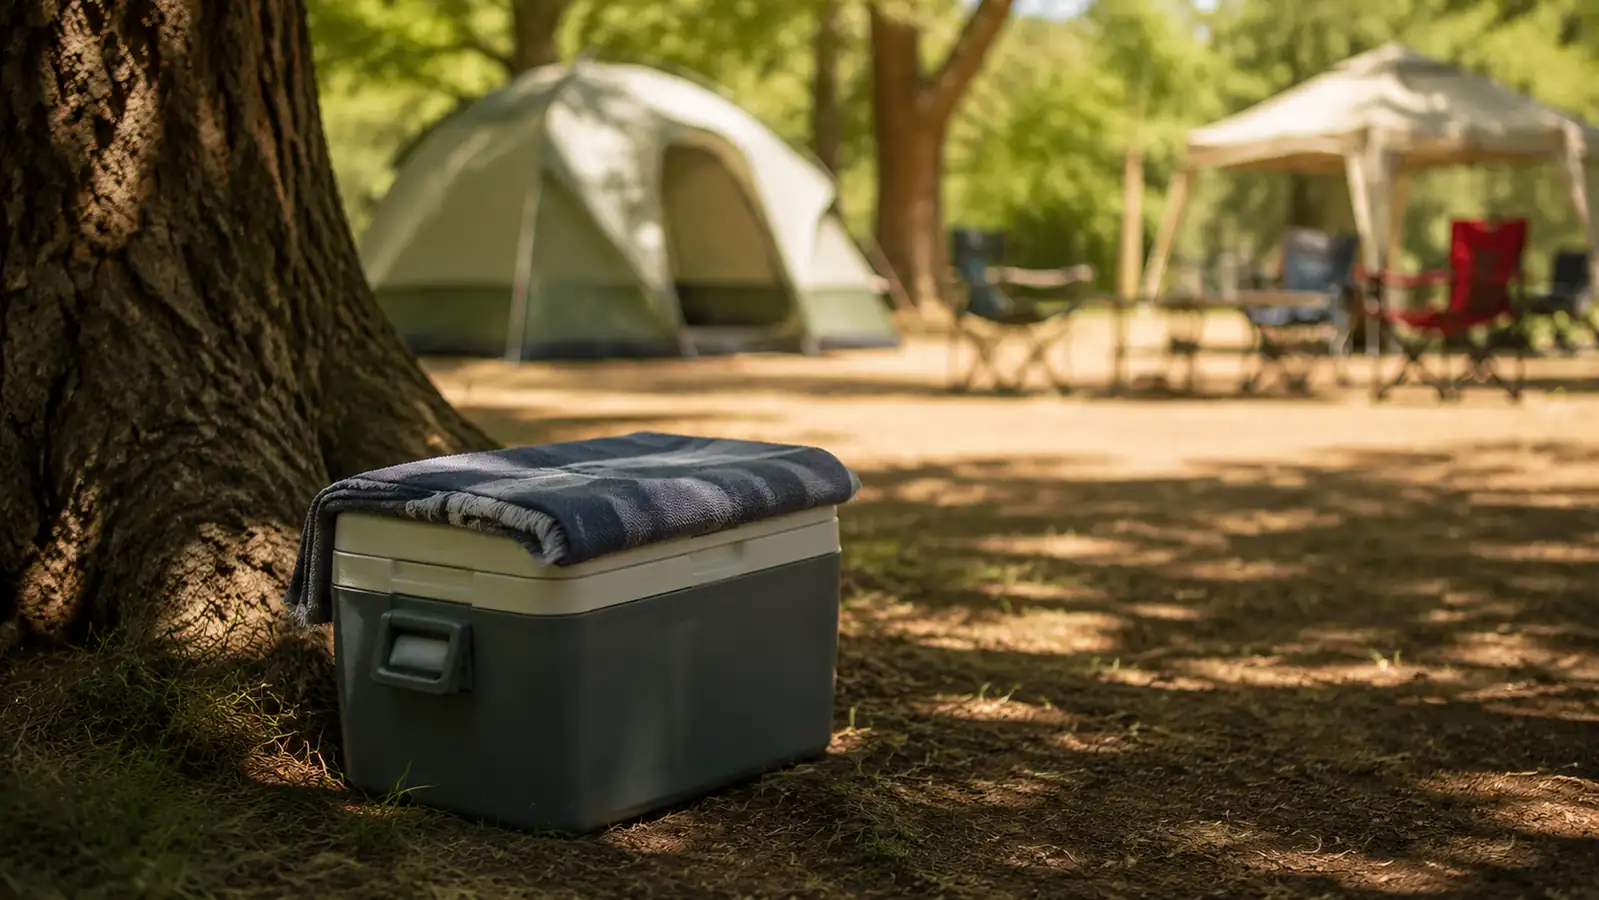
The real enemy is not the food, it is the sun. A cooler parked on open ground at midday works all afternoon against the heat hitting the plastic, and the ice pays for every hour of direct light. So the first move at any campsite or tailgate is placement: the shadow of the truck, under a tree, or under the tent fly. When there is no shade at all, I lay the picnic blanket across the lid so the worst of the heat bakes the cloth instead of the shell.
Then the lid. Every time it opens, a cloud of cold leaves and the summer heat takes its place. I run the cover like visiting hours: open for the morning coffee, open for the noon sandwich, open for the evening can, and closed for the rest of the day. If you cut the daily opens from fifty to four, you have done more for the ice than any new cooler upgrade in the world.
And the melt in the bottom is not your enemy. The water pooling at the floor is still cold, and it does the same work as a block while it sits against the lower shelf. Do not drain it at the first sign; drain only when the pool climbs past the lowest shelf. The water you pour out during a quick sweep is some of the coldest you own. Unless the eggs are floating, that pool is your friend.
Step 5: Fill the empty space with the cold you already own
The quiet thief is the air. A cooler that is only a third full has a pocket of warm air sitting above the food, and every time the lid rises, that pocket reheats everything below it. A full cooler has no such pocket because the extra mass holds the cold steady and there is less air to warm. Pack the chest as if you are preparing for the longest single day, so the space that would hold air becomes a wall of frozen block instead.
The fill is cheap: extra frozen bottles, a second jug, a clean folded towel, the last of a bag. Every pocket you fill is a pocket the warm air cannot use, and none of it is wasted. When the lid shuts onto a full box instead of an airy one, the heat has no empty space to fill. That last inch of packing is worth more than the first bag of ice, and it is the step nearly everyone forgets.
That is the whole system: pre-chill, block, sort, shade, and fill. I have run these habits for two years across tailgates and long weekends, and they hold the food cold from the Friday pack to the last hour of Sunday. When I keep the list I bring drinking water home and have ice to spare. When I skip it, I am the one at the store buying a bag, paying for the minutes I forgot to plan.
What Else Helps
Two simple extras stretch the whole system. A small soft-side cooler for drinks only keeps the sodas out of the meat box, so the big chest is opened a handful of times a day. At any tailgate that is the whole ballgame. And freeze what you can ahead of time: patties, pizza, freezer packs, even grapes. Frozen food rides as ice on the way in and becomes dinner once you arrive.
One honest limit: no box is a refrigerator. If the forecast reads ninety-five and your site runs four days, you will still want a bag of ice by the second day, and that is physics, not a flaw in the packing order. The routine buys you the margin that turns a meal that holds into a meal that would only be a rumor. I take that margin every single trip.
And when you are ready to retire that box, the 30-can Deep Freeze from Titan by Arctic Zone is the chest I recommend in my full review on this site. I measure it by a single rule: does the ice still stand on Sunday? Start the routine in the box you own, and when you want one that does better, this is a box that holds the cold exactly where you pack it.
The block you freeze on Tuesday is the ice that feeds Saturday, the wall that holds the temperature through the whole weekend, and the drinking water for the ride home on Sunday. One free block of ice, three full uses.
Start with a box that keeps the cold it earns
The 30-can Deep Freeze from Titan by Arctic Zone has run this routine for the last two seasons, and its zipperless lid keeps the cold exactly where the list puts it. That is the box I pick up before every trip. Pair it with the order above and the weekend comes out cold, not wet. Check today's price and give your next chest a cold night tonight.
Amazon Check Today's Price on Amazon →